How to work MusicIP GenPUID
****************** Note GenPUID no longer works ******************
As GenPUID uses MusicIP servers which are no longer operational, GenPUID will not work.
You will just receive a "MusicDNS servers cannot be reached right now." Error message
The information below is just for record
Why use GenPUID?
In a nutshell GenPUID is a command line driven version of MusicIP and can be used to create fingerprints just like the GUI.Some of the advantages are that you can use it in scripts and also it can be faster to analyse your music collection than using the GUI. It doesnt seem to support multi-threading however.
How to use GenPUID
Download GenPUID from; GenPUID
You need a DNS Key from; GenPUID
Assumptions
Extract the zip file to C:\genpuidMusic Collection file location;
E:\Flac-Music
Open a Command Prompt and go to C:\genpuid
Then use the following arguments;
NOTE: Where we have 00000 etc. this is where you put your own key (see above)
-logex = Means create a log file
-archive = Means calculate the fingerprint and then archive it into the file
-r = Means go through all sub-directories
Command Line in full;
c:\genpuid\genpuid.exe 00000000000000000000000000000000 -logex -archive -r e:\Flac-Music
Allow GenPUID to analyse the music collection.
I recommend that you have the files local to the machine when using GenPUID otherwise you get errors, it didnt work for me at all running it against music files located on a NAS.
Once its done, you can move your files back to a NAS and they will take their fingerprint with them, as its been analysed inside the music file.
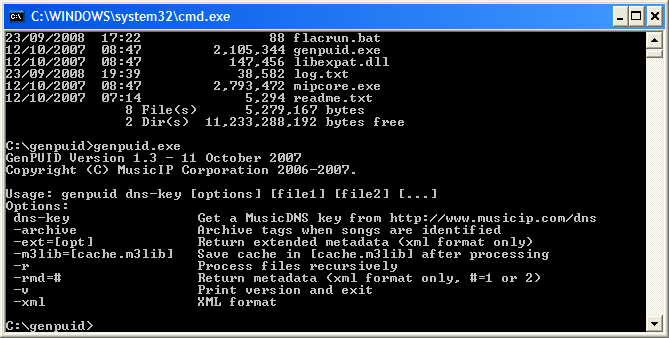
Here is the help file, just typing GenPuid will bring it up from a command line;
Update for Linux Ubuntu:
On newer versions of Ubuntu you will likely get the following error;genpuid: error while loading shared libraries: libstdc++.so.5: cannot open shared object file: No such file or directory
libstdc++5 was discontinued in Ubuntu 9.10 it therefore needs to be manually installed to make genPUID to work again.
Note: You need the i386 package and will need both i386 and amd64 packages if you use an Ubuntu_amd64 architecture.
For Ubuntu - i386
Download the i386 libstdc++5 package install it by double clicking on it, or through the command line:sudo dpkg -i libstdc++5_3.3.6-17ubuntu1_i386.deb
For Ubuntu - amd64
Requires both the i386 & amd64 packages:Download the amd64 libstdc++5 package install it by double clicking on it, or through the command line:
sudo dpkg -i libstdc++5_3.3.6-17ubuntu1_amd64.deb
Download the i386 libstdc++5 package
If you double click it or install from the command line you will get an error message “Wrong architecture ‘i386'â€
You need to extract the libstdc++5 library as the deb package is an i386 one.
In the directory where the package has been downloaded run the following:
sudo dpkg-deb -x libstdc++5_3.3.6-17ubuntu1_i386.deb ./tmp
sudo cp ./tmp/usr/lib/* /usr/lib32/
This will copy the files into the correct location.